2023.10.28 - New Cockpit Bottom Boards 1
Another task of the never-ending list of things that I need to do for Naiad is to sort out the issue of the cockpit bottom boards. The ones that have been in Naiad since I rebuild her are made from oak and do the job except that I made them flat and that is fine for the edge that rests on the keel but not good for the other edge which sits on the curved hull. The result is that after a few visits one or both of the boards crack along the grain due to my weight on the unsupported part of the board due to the hull's curvature.
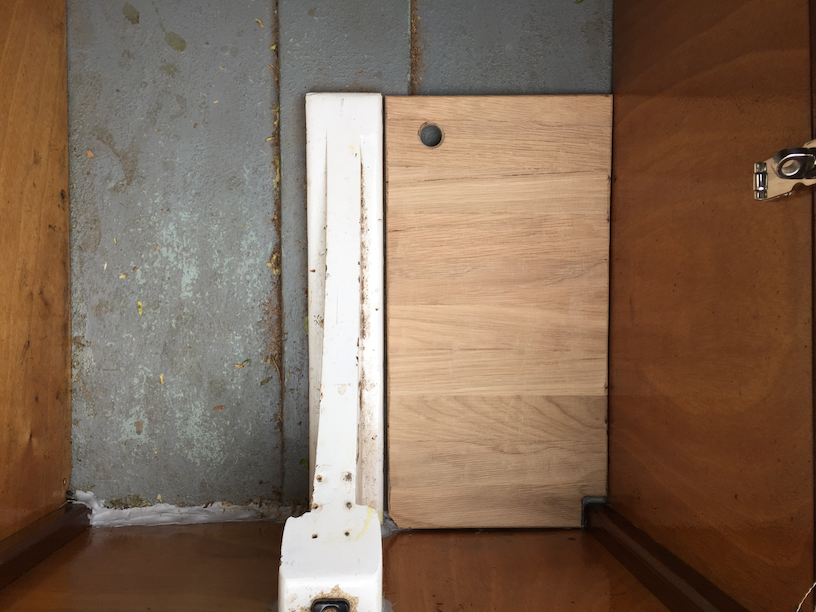
This is a photo of one of the bottom boards in the cockpit when I first made them. Looks quite nice. But what you cannot see is that the board right hand edge is unsupported just below where the silver latch is in the photo. Stand on that part and nothing will happen but step down from the thwart onto that part with all my weight coming down there hard, well the board snaps. The other side is the same.
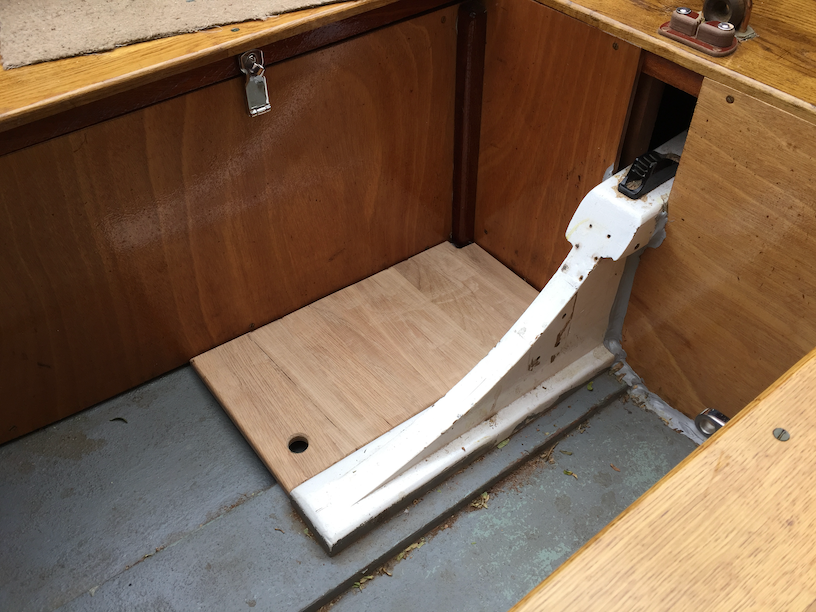
The board from a different angle.
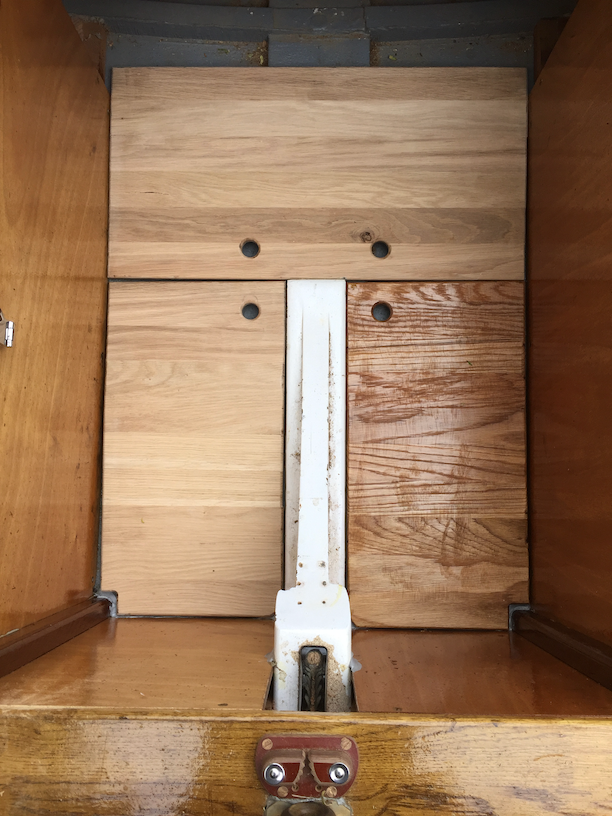
Here are all three bottom boards in place before I took them out to be varnished.
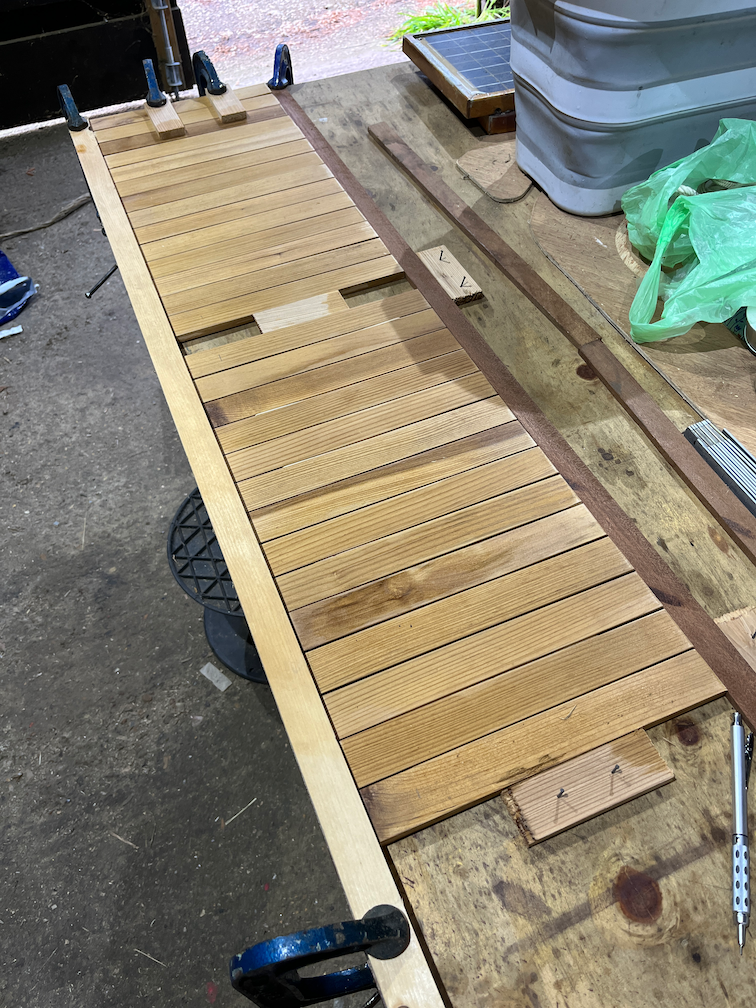
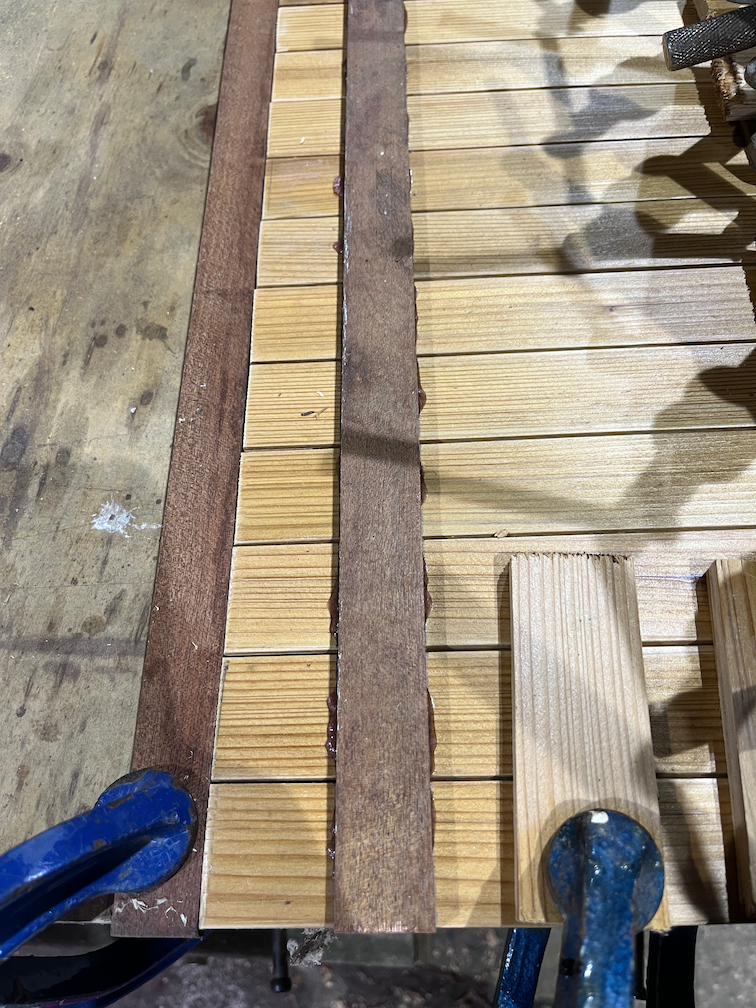
The new bottom boards are made of Red Cedar, mainly because I have a lot of it in the wood pile. The battens were cut to the correct width and length and clamped on all four sides using battens, cramps and offcuts nailed to the bench.
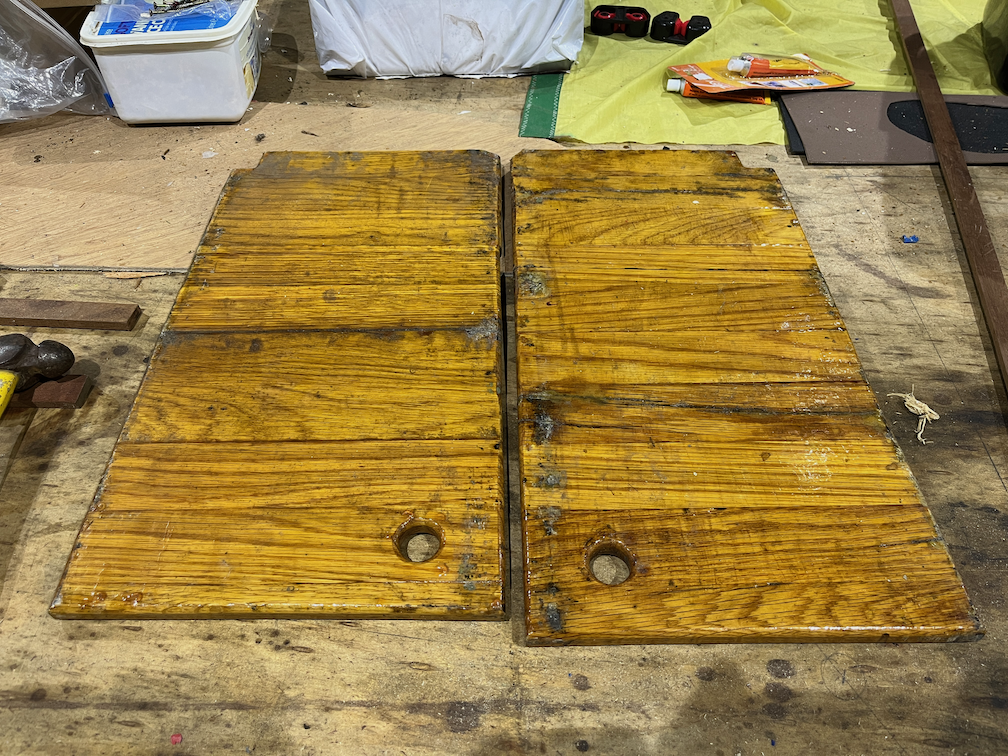
Thes are the two original boards. They have been repaired several times over the years.
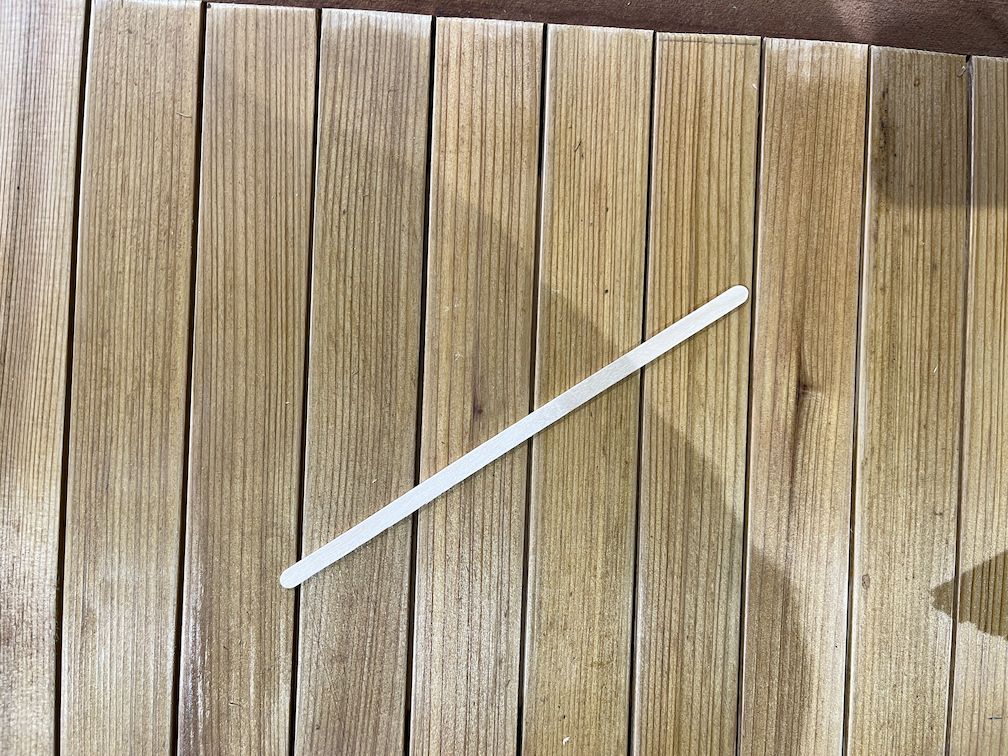
I put a thin sliver of wood between each of the battens. The wooden sliver is a mixing stick that I used for mixing epoxy. They are about 1.5mm thick which is exactly the right width for this job.
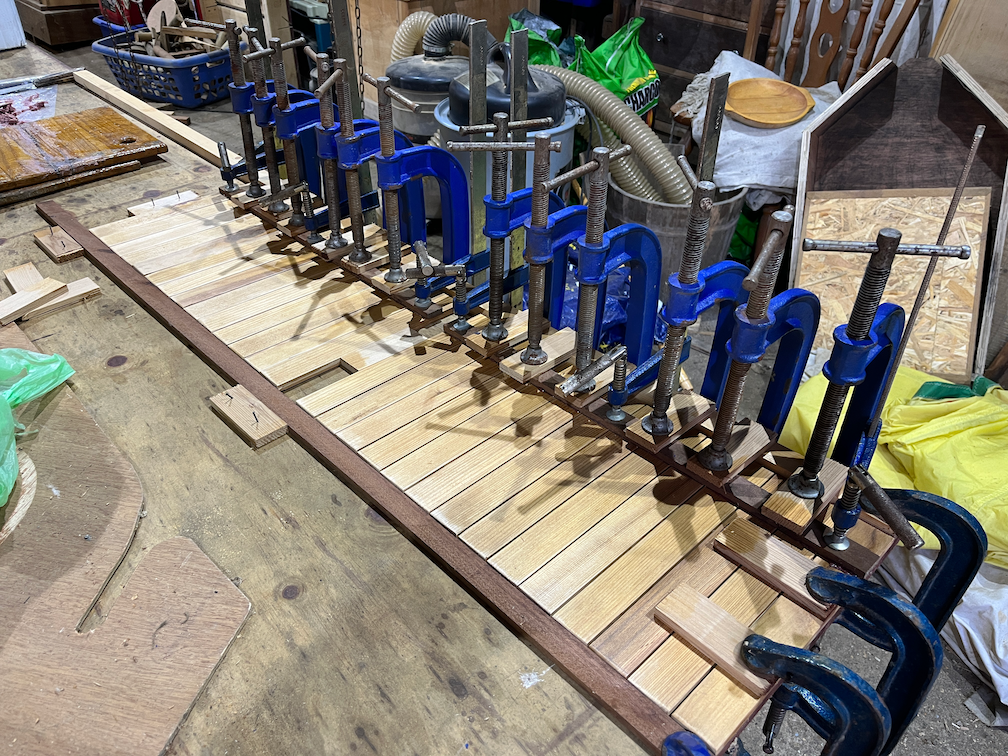
A length of Sapele was then glued to the battens using thickened epoxy and clamped in place using a few cramps. You can never have too many cramps.
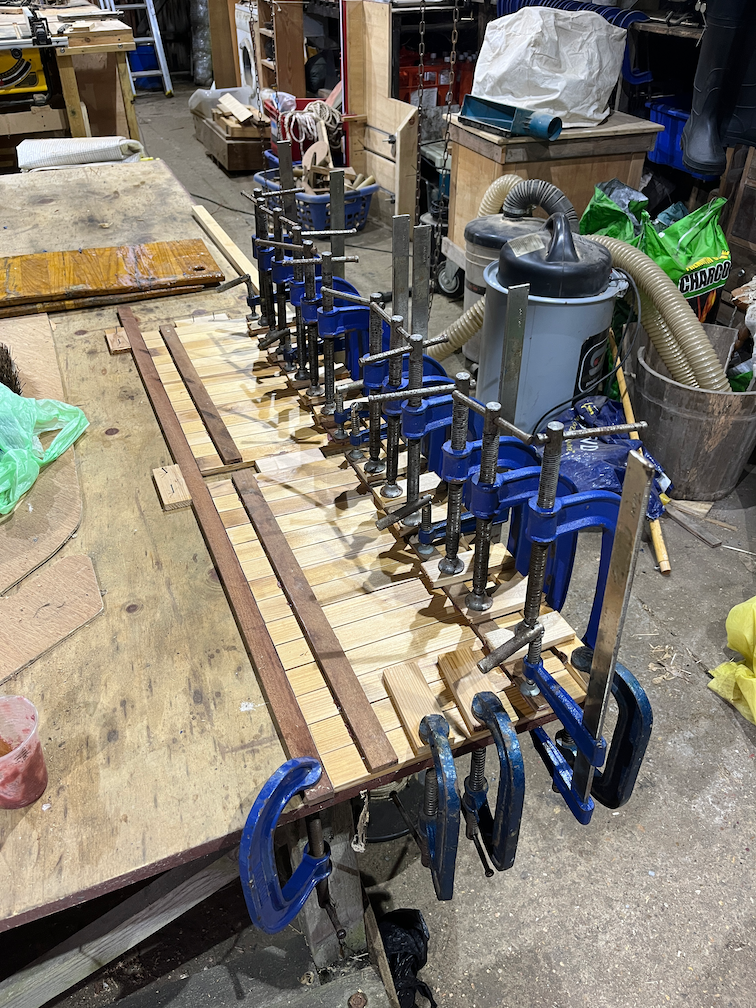
The following morning the cramps were removed, the boards turned around by 180º and another, thinner length of Sapele glued to the other side. Again a few cramps used to hold it down firmly. This thinner batten will be on the outer side of the board.
A close up of the first length of Sapele shows that some of the epoxy has squeezed out of the joint, but not excessively.
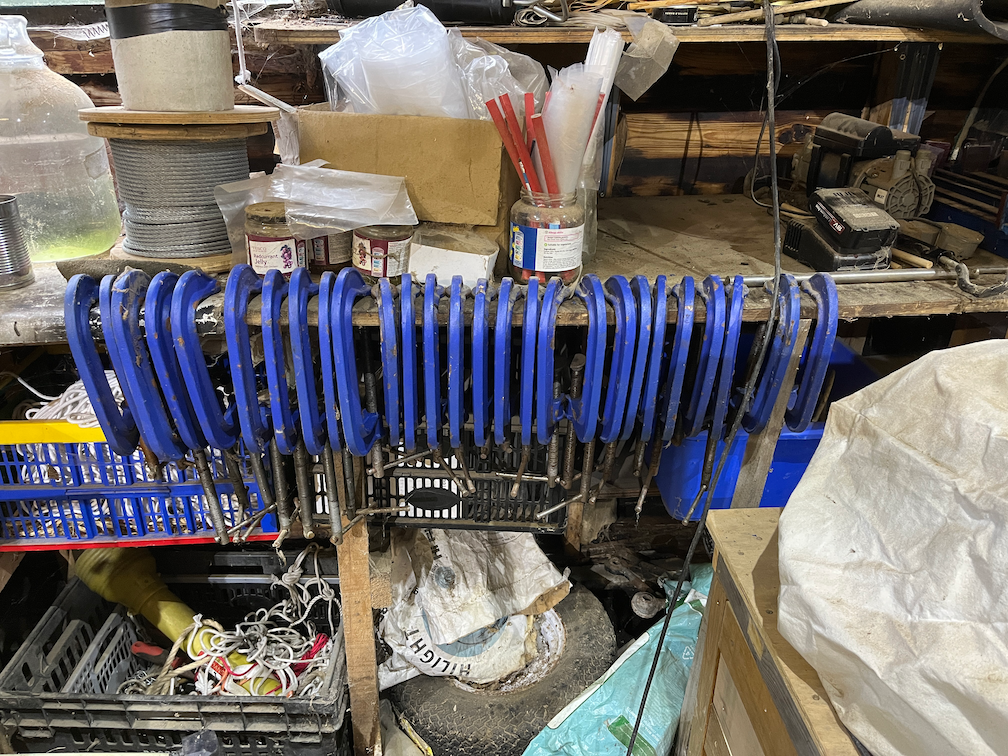
While I was about it I took the opportunity to put some WD40 on the threads of all my large cramps, all 40 of them. Did I mention that you can never have too many cramps?
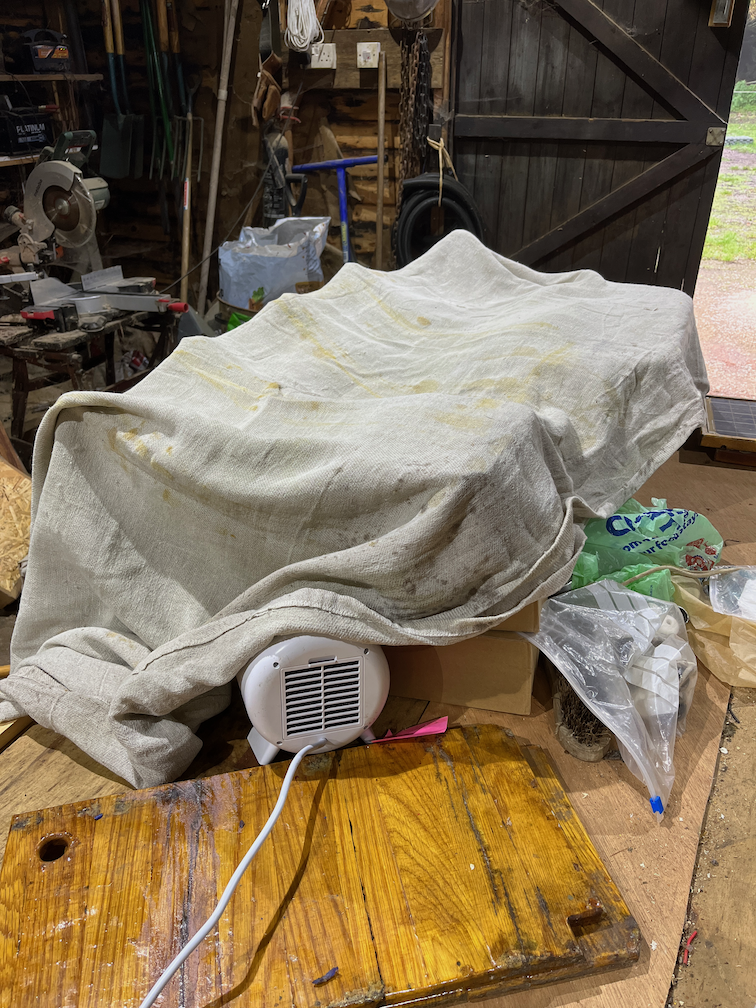
The temperature in the workshop this morning was a little too low for curing the epoxy so I covered the assembly with a drop cloth and used a small electric heater to blow hot air into the space under the cloth. The heater was left on high for about an hour which warmed the assembly and the bench beneath it after which I turned the heater down to low, just to maintain the warmth under the cloth. Hopefully this will allow the epoxy to cure in a few hours.
The idea behind the new boards is to allow them to flex a little so that when I step on the unsupported part, instead of cracking the board gives a little. That is why the battens are spaced apart and not joined together along their sides. The long Sapele batten underneath will flex but the grain on those runs fore and aft with respect to the boat and should not crack.
Now you may ask why am I not making a curved batten underneath the boards so that they are supported along their whole length. I would if that were an easy task, but it is not. If you look again at the three photos at the top of the page you will see that the locker sides prevent me from seeing just where the gap is and by how much I would need to brace the boards. So, for now, these flexible boards will be the answer. Once I figure out how to make a suitable curved brace then I will do that as well.
For now, time for a cup of coffee.
After a few hours in the warmth the epoxy had cured sufficiently for me to remove the cramps and take the boards into the house where they spend the next few hours on top of the Rayburn staying warm. That should cure the epoxy fully.
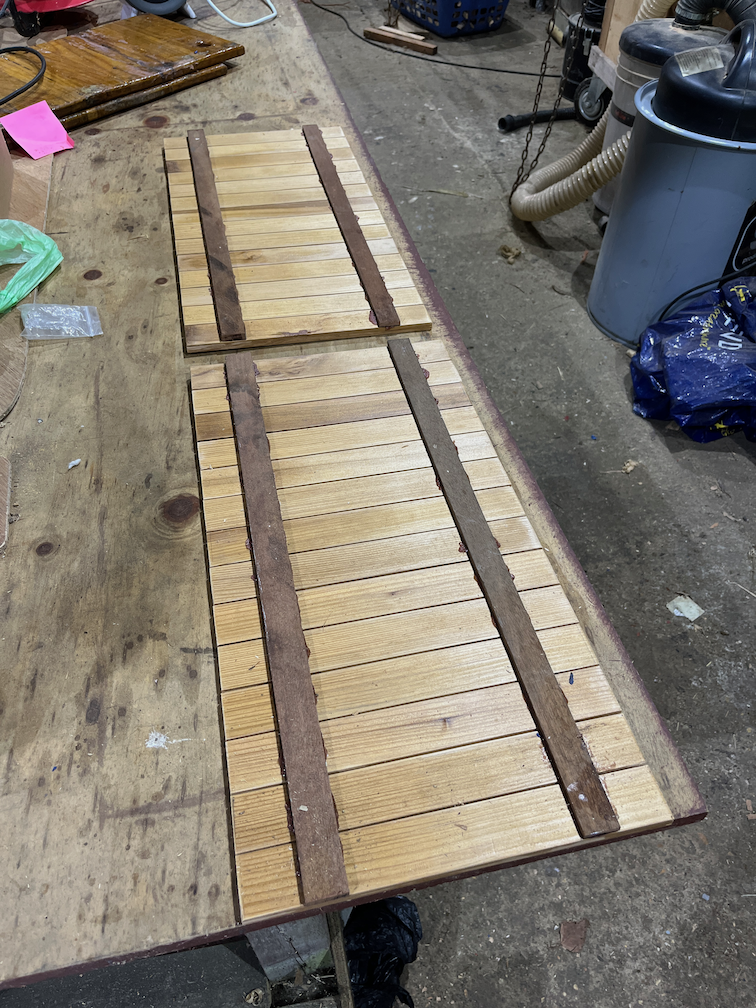
With the cramps and restraining blocks removes the new bottom boards look pretty good.
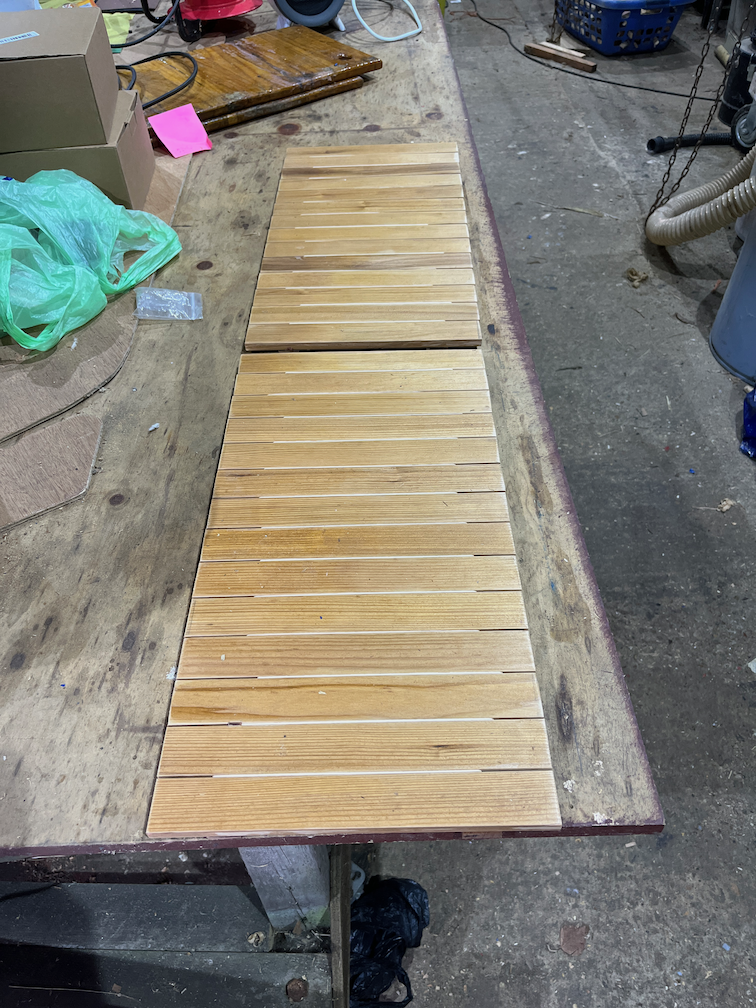
The top sides of the boards are also good and here you can see the spacers between the battens.
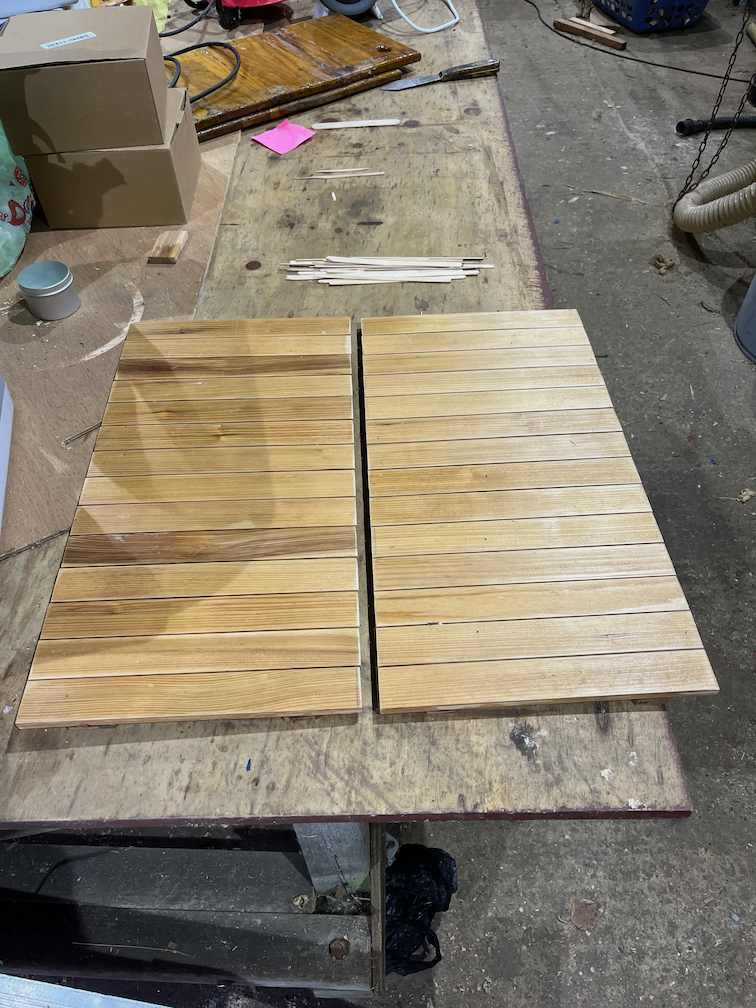
With the spacers removed the boards look very good and flex a little when pressure is applied to the middle of the board, so that looks like it has been a success.
Next up will be to make the finger holes, cut off one corner to fit around an epoxy fillet in the cockpit, round off a few corners and to taper the aft edge of the thinner batten on the underside. But that's for another day and after that it will be time to apply some varnish. With the weather forecast to become quite cold in the next few days, the varnish work will be done in the work room inside in the warm.
Time for a cup of tea.